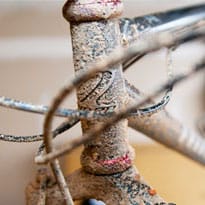
Riding your mountain bike in a lot of mud can be a bad thing on many fronts but during this time of year, it is inevitable as you try to get as much time on dirt as you can. Riding in muddy conditions can not only hurt the trail, but it can cause serious damage to your bike and components as particles of sand and dirt get into areas of your bike and act like sandpaper as it wears out your components, pivots and other moving parts of your mountain bike. The following tutorial is the process I go through after every muddy ride on my bike. As you saw in a recent article about forest service road riding, I had the perfect opportunity to dive into this with an extremely dirty Niner M.C.R. 9.
It All Starts With The Wash
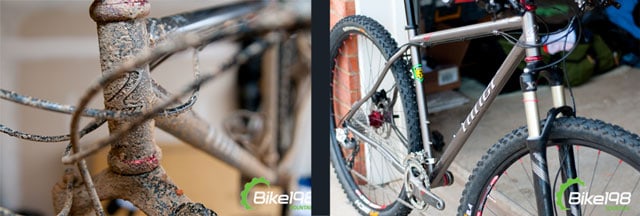
As soon as I can after the ride, I wash my bike. The more you move it around or try to ride it with all of that dirt caked on…the more damage you are going to cause over time. I have tried just about every cleaner imaginable to work on my bikes with and by far the best has to be Suzuki Motorcycle Wash. Made for motorcycle washing (obviously), it is safe for use on rubber and plastics and it doesn’t strip decals and stickers. All you have to do is rinse off the mud, spray on the wash and then rinse off your bike. No scrubbing is necessary as your bike looks completely new after you rinse it off. Even your tires are clean of any mud residue and I guarantee you will be asked at the trail head if you bought a new bike. I do not know what they put in this stuff…but it is magic. (The before and after shot above is by using that process…zero scrubbing)
While you are washing your bike, try not to apply high pressure water to pivots, bearings and other moving parts areas of your bike as that can cause damage over time by forcing water into unreachable areas.
The Headset and Steerer Tube
One of the most vulnerable areas to mud on your entire bike is the head tube area. As the front tire kicks mud and water underneath your bike, it shoots it directly into your headset from under the frame. This is the first area I tackle after the wash process.
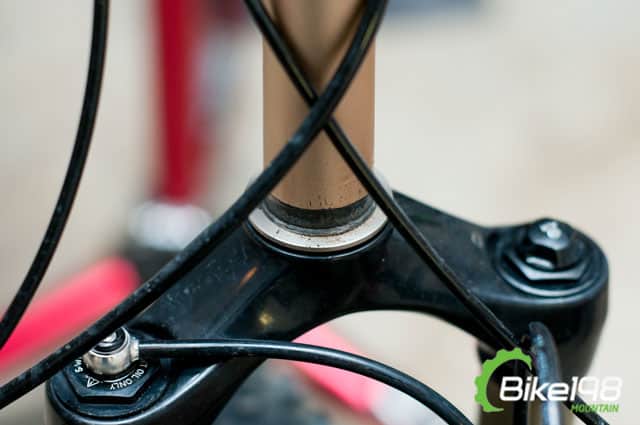
Even after a very complete wash, there will be sand and dirt particles that find their way into the headset bearings and crown race of the fork. Over time, these particles will prematurely wear down the bearings in your headset. High quality headsets, like the Chris King installed on this bike, do a better job of sealing the bearings away from the elements, but as you can see from this picture…there is still dirt present that can cause damage. The cheaper your headset, the more dirt you will probably see upon diss-assembly.

You need to wipe off the access dirt and grime and re-grease the bearings and crown race surfaces. I use Park Tool Polylube 1000 to re-grease all of my bike surfaces and this same bottle has lasted me about 2 years now. A little bit goes a long way.
The Bottom Bracket and Cranks
The second area I attack during the cleaning process is the bottom bracket and crank area of the bike. Much like the headset, the bottom bracket bearings are drastically affected by dirt and water. The bottom bracket even gets the added abuse of being submerged in water every now and then on creek crossings.
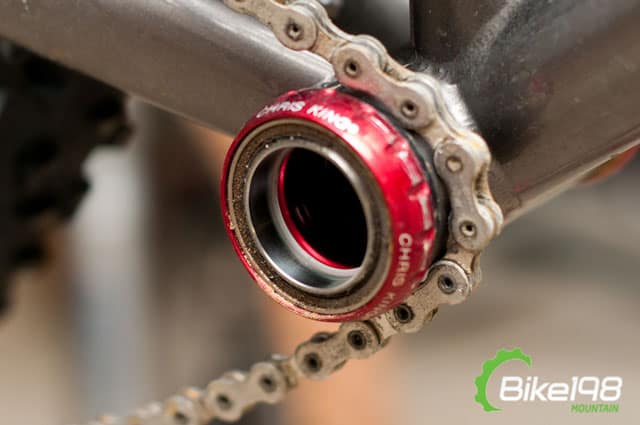
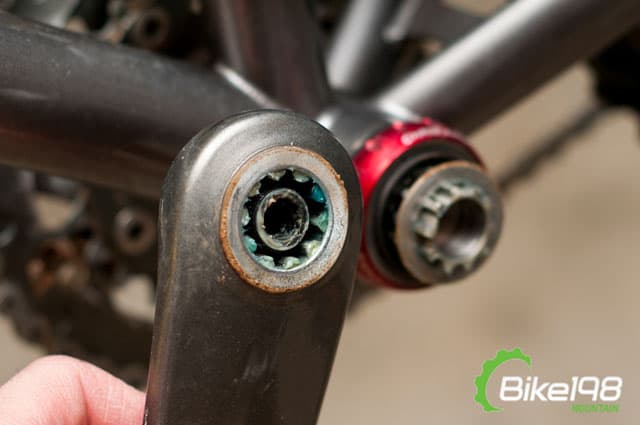
As you can see by the pictures, even this high quality, very well sealed Chris King bottom bracket still has dirt on the bearings. At this point, you need to remove all washers, wipe down all surfaces and re-grease all contact points with your Park Tool Polylube 1000.
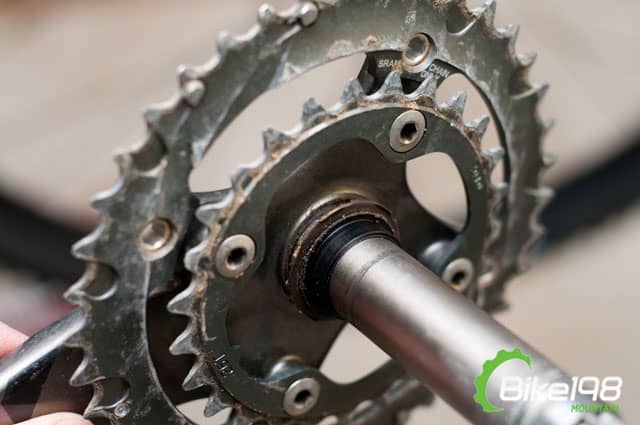
The crank surfaces and spindle are going to show the same dirt, so remove all spacers, wipe down and re-grease these areas as well. Once everything is clean and re-greased, reinstall the cranks and make sure you do not hear any crunching while spinning.
Re-Lube: Pulleys and Seals
Luckily, on a mountain bike, most of your derailleurs and seals will need get pretty clean through the wash process. However, to make sure they last and do not cause damage to other components by being too dry, it is necessary to re-lube these components as well.
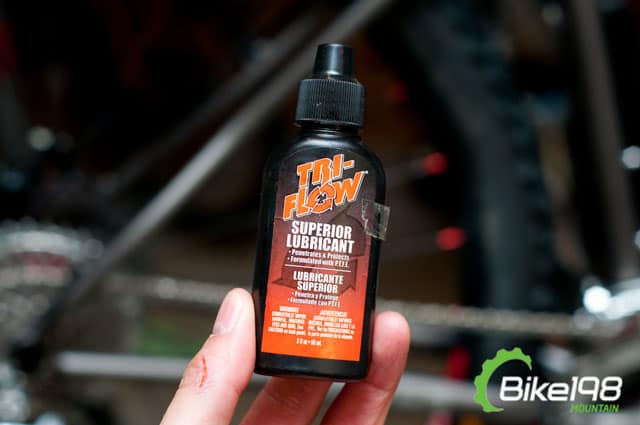
For this process, I use Tri-Flow. By coating the bearings on the derailleur pulleys and front and rear shock seals, you are decreasing friction, cleaning and insuring smother action all at the same time. Periodically, I apply Tri-Flow just as part of my routine maintenance even when the bike is clean to keep performance at its best.
Full Suspension Pivots
In this case, I was out riding a hard tail so there are not pivots to inspect. When riding a full suspension mountain bike in muddy conditions, you need to fully inspect all pivots once the bike is clean and re-grease with the manufacturers recommended brand/solution. As dirt breaks down bearings and bushings, you could find yourself in a very expensive fix if you do not watch the condition of these parts of your mountain bike. If needed, disassemble, clean and re-grease these components.
Drivetrain – Cassette, Chain and Chain Rings
Mud and dirt play havoc on your drivetrain. In many cases, it will be necessary to replace these components after a ride in really bad conditions. While you are riding in mud, you are forcing dirt into the chain and then running that chain over these components. During the ride, you will start to notice chain suck (chain sticking to the rings and going up into the frame) as chain lube deteriorates during the ride. This same dirt start to wear away at aluminum chain rings and cassettes sometimes to the point they are worthless after a ride.
After you have washed your bike, de-grease your chain and completely re-lube. You will also need to inspect all components of the drivetrain for excessive wear and replace any parts that are beyond repair. If you are planning on a ride that is going to be in conditions that are bad, do not install any new components in this area until after the ride is complete to prevent damaging new gear.
Final Inspections: The Rest of the Bike
After all of that is complete, I remove the seat post and wheels to clean the contact points on the frame of any remaining dirt and re-grease this areas. Just to make sure, freewheel your rear hub and listen to the engagement to make sure no mud or water entered the rear hub body. If you hear anything out of place, disassemble, clean and re-grease.
As you can see by this process, there is a lot of work to be done after you get done with a muddy mountain bike ride to insure you do not continue to damage your bike and components. By taking these necessary steps, you can prevent any further damage and make sure all components are performing at their best for your next ride.
Products Mentioned In This Article
Tri-Flow | Park Tool Polylube 1000 | Suzuki Motorcycle Wash | Chris King Components

