I have run into a problem in my garage. We have too many bikes. It is mess and it is not easy to access the bikes when needed. In this Steadyrack review, we are going to look at how to fix this mess.
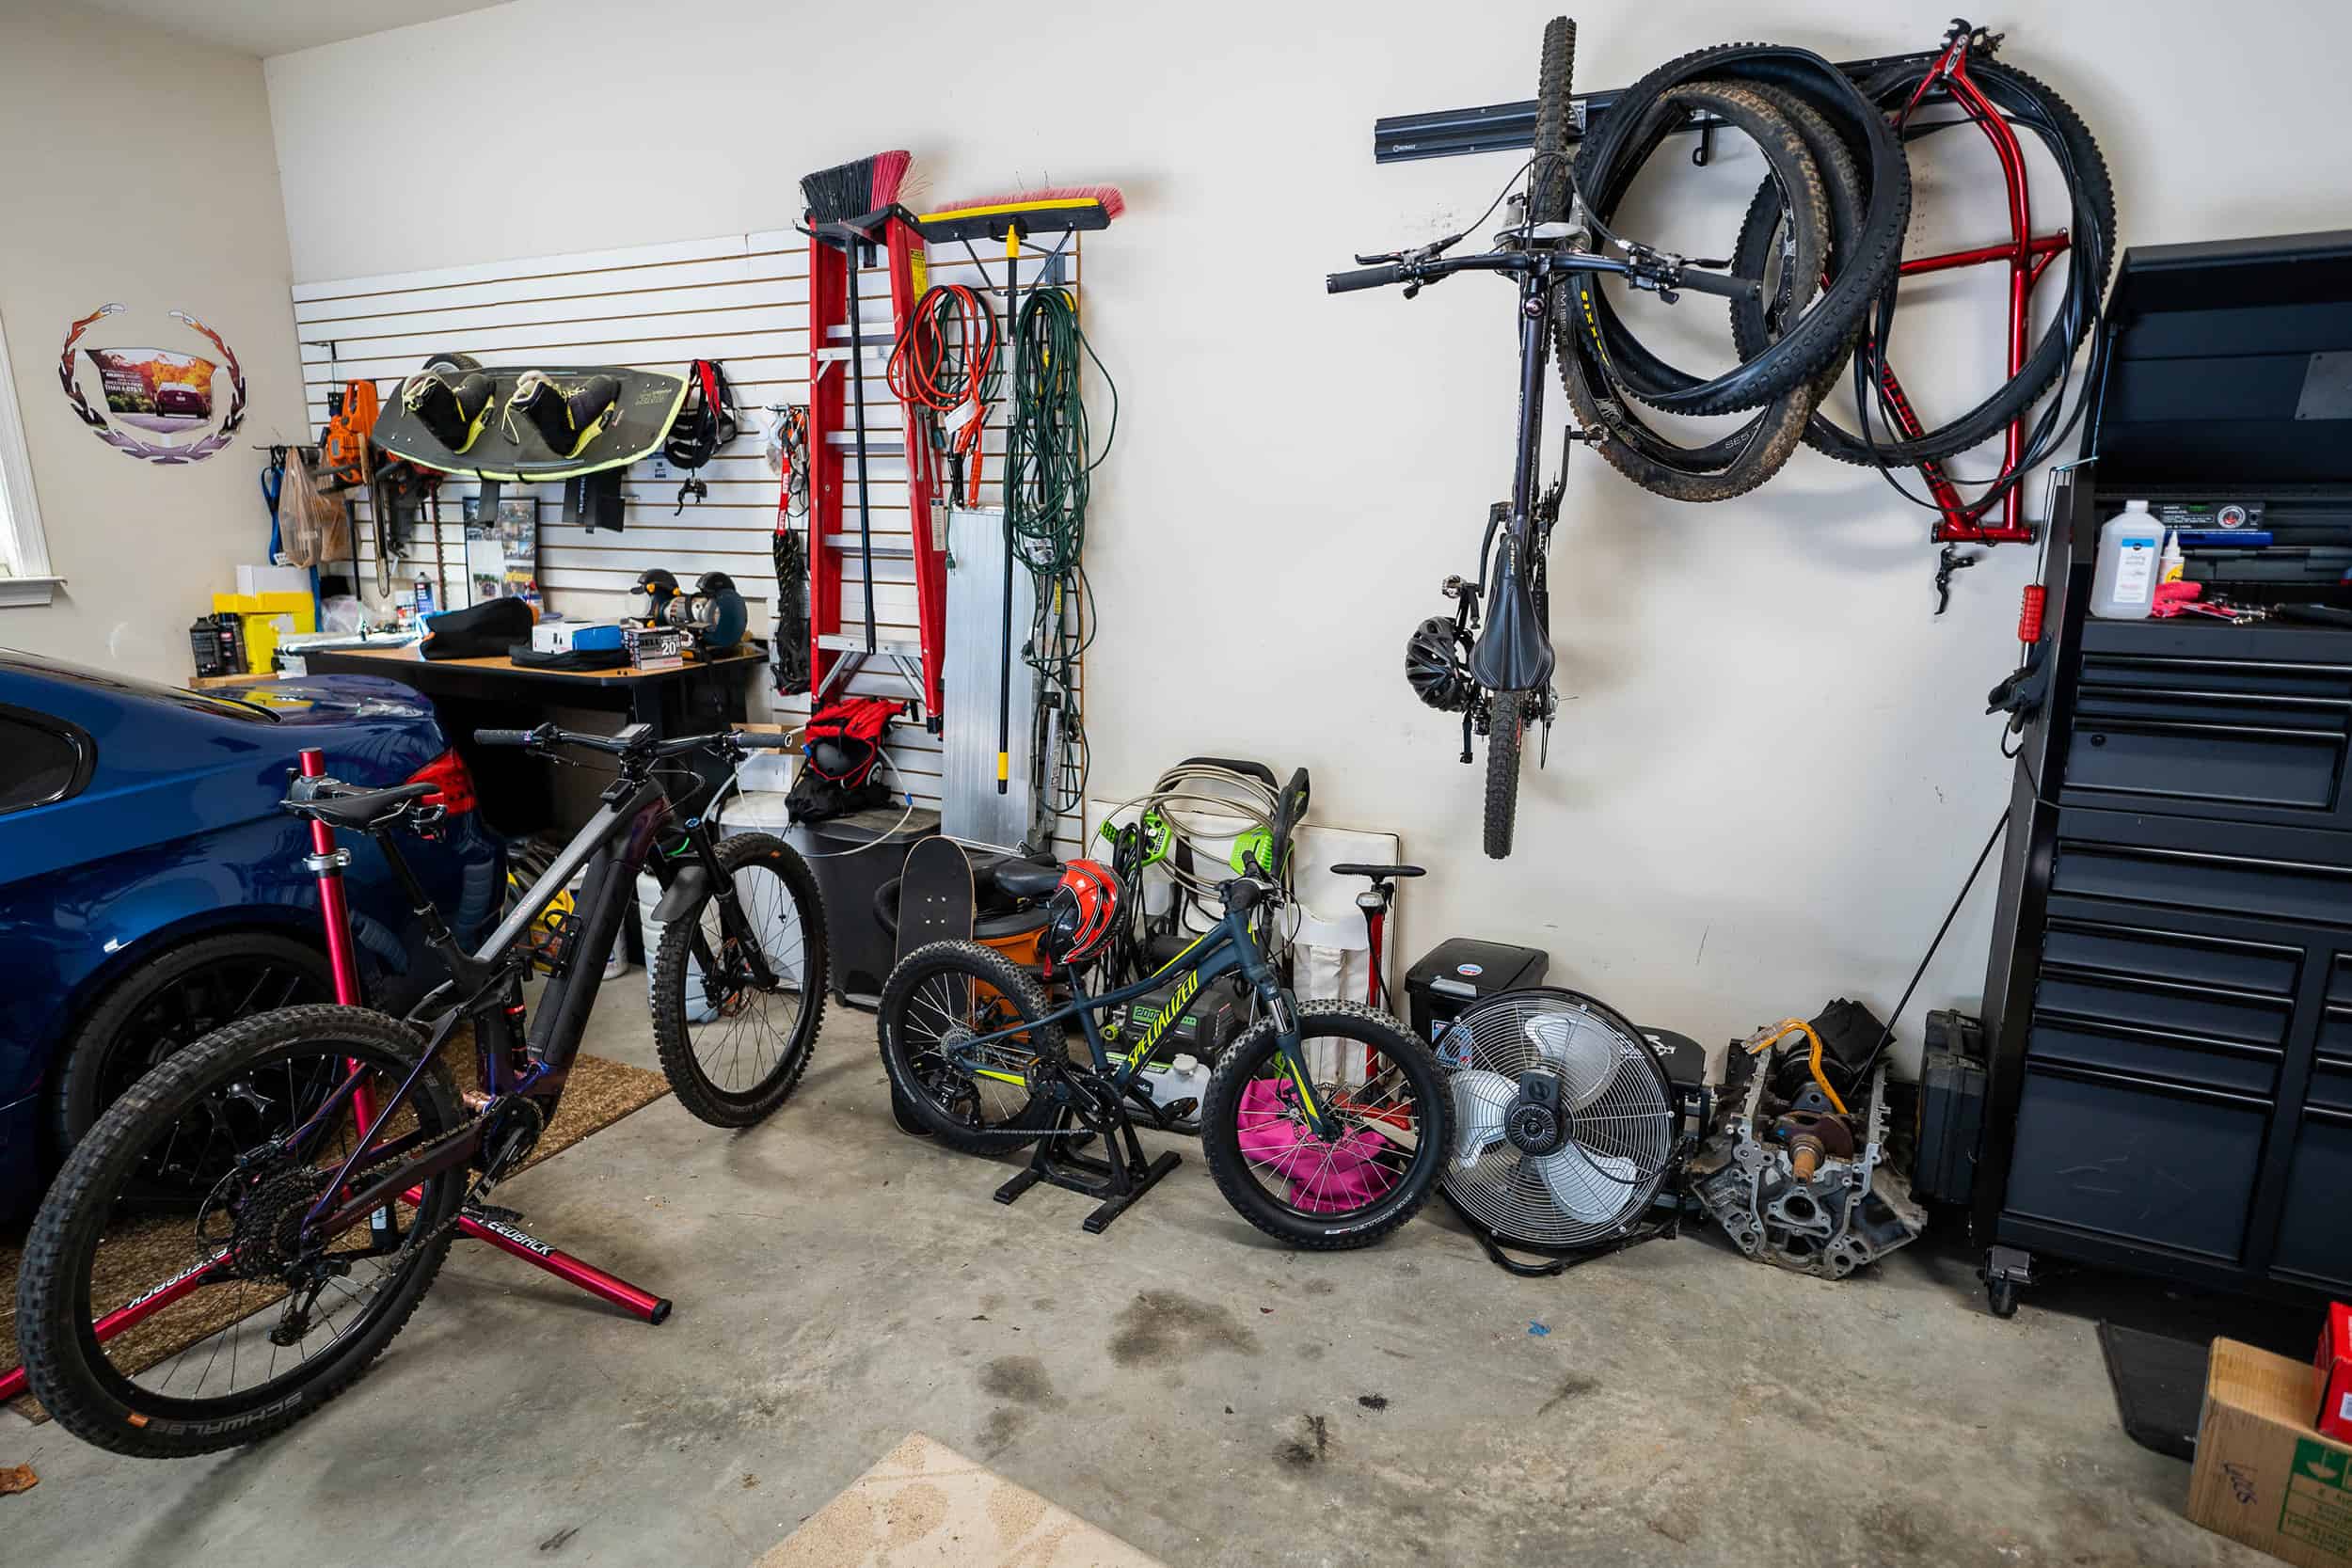
Well…let me rephrase that…you can never have too many bikes. What we do have is too many bikes to just leave them laying around and it has caused a mess. My garage probably starts off like most people’s. You get everything organized and then as hobbies change…more gets added. What you end up with is a lot of bikes, tools, yard equipment and other items all over the place. It’s frustrating and the entire family needs to use this space so a solution has to be found. I needed a garage storage solution for our bikes and I partnered up with the crew at Steadyrack to clean things up.
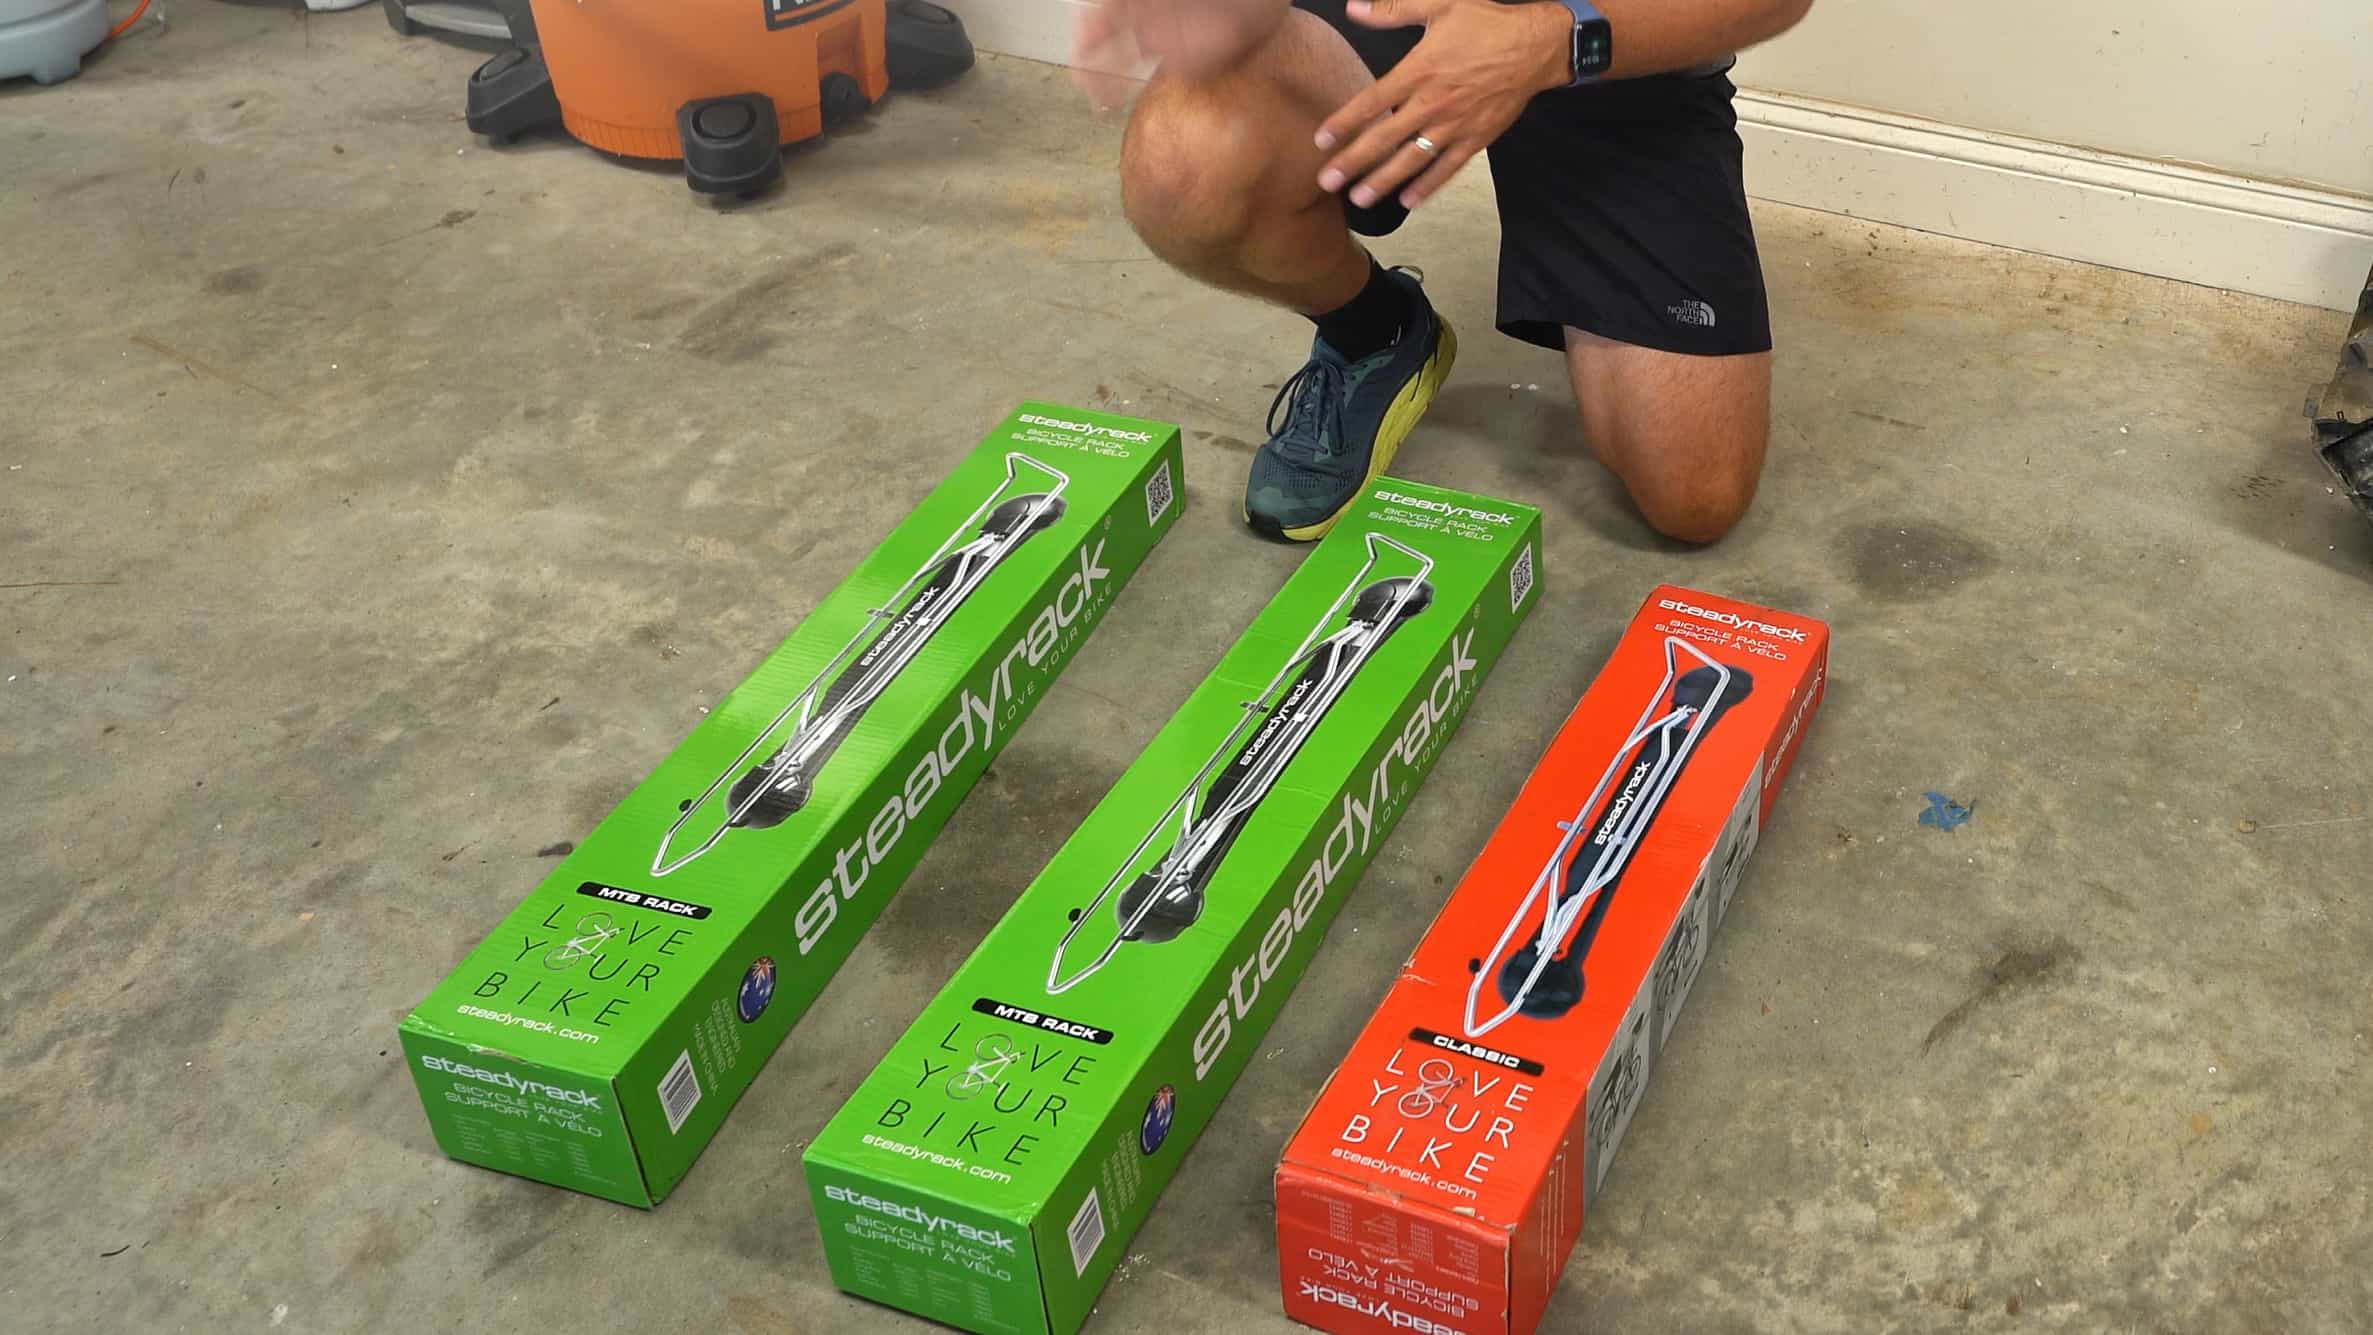
Steadyrack Mountain and Classic Racks
Steadyrack sent over their mountain and classic versions for us to install and review. The mountain racks will handle tires up to 2.8 in size while the classic racks can take a max of 2.4. That makes the classic rack great if you are going to end up racking multiple kinds of bikes.
Mountain Rack – $89.99
Max Tire Width – 2.1″ – 2.8″
Wheel Diameter (inc tire) – 20″ – 29″
Bike Style – Mountain Bikes
Recommended Weight – 35kg
Classic Rack – $89.99
Maximum Tire Width Up to 2.4″
Wheel Diameter (inc tire) – 20″ – 29″
Bike Style – Road, Hybrid and Select Mountain
Recommended Weight – 35kg
The Steadyracks are made out of steel and UV treated plastic. They swivel almost 180 degrees in both directions and they come with a 5 year warranty.
If you are a rider that likes fat bikes or bikes with complete fenders, check out their models for those as well that are not included in this review.
Steadyrack Installation Process
Before we get into the Steadyrack review…lets look at the install. Do you know how to put 6 screws into a wall stud? Then you can install the Steadyracks into a typical garage wall. The process is very simple (and shown in the video at the start of this article).
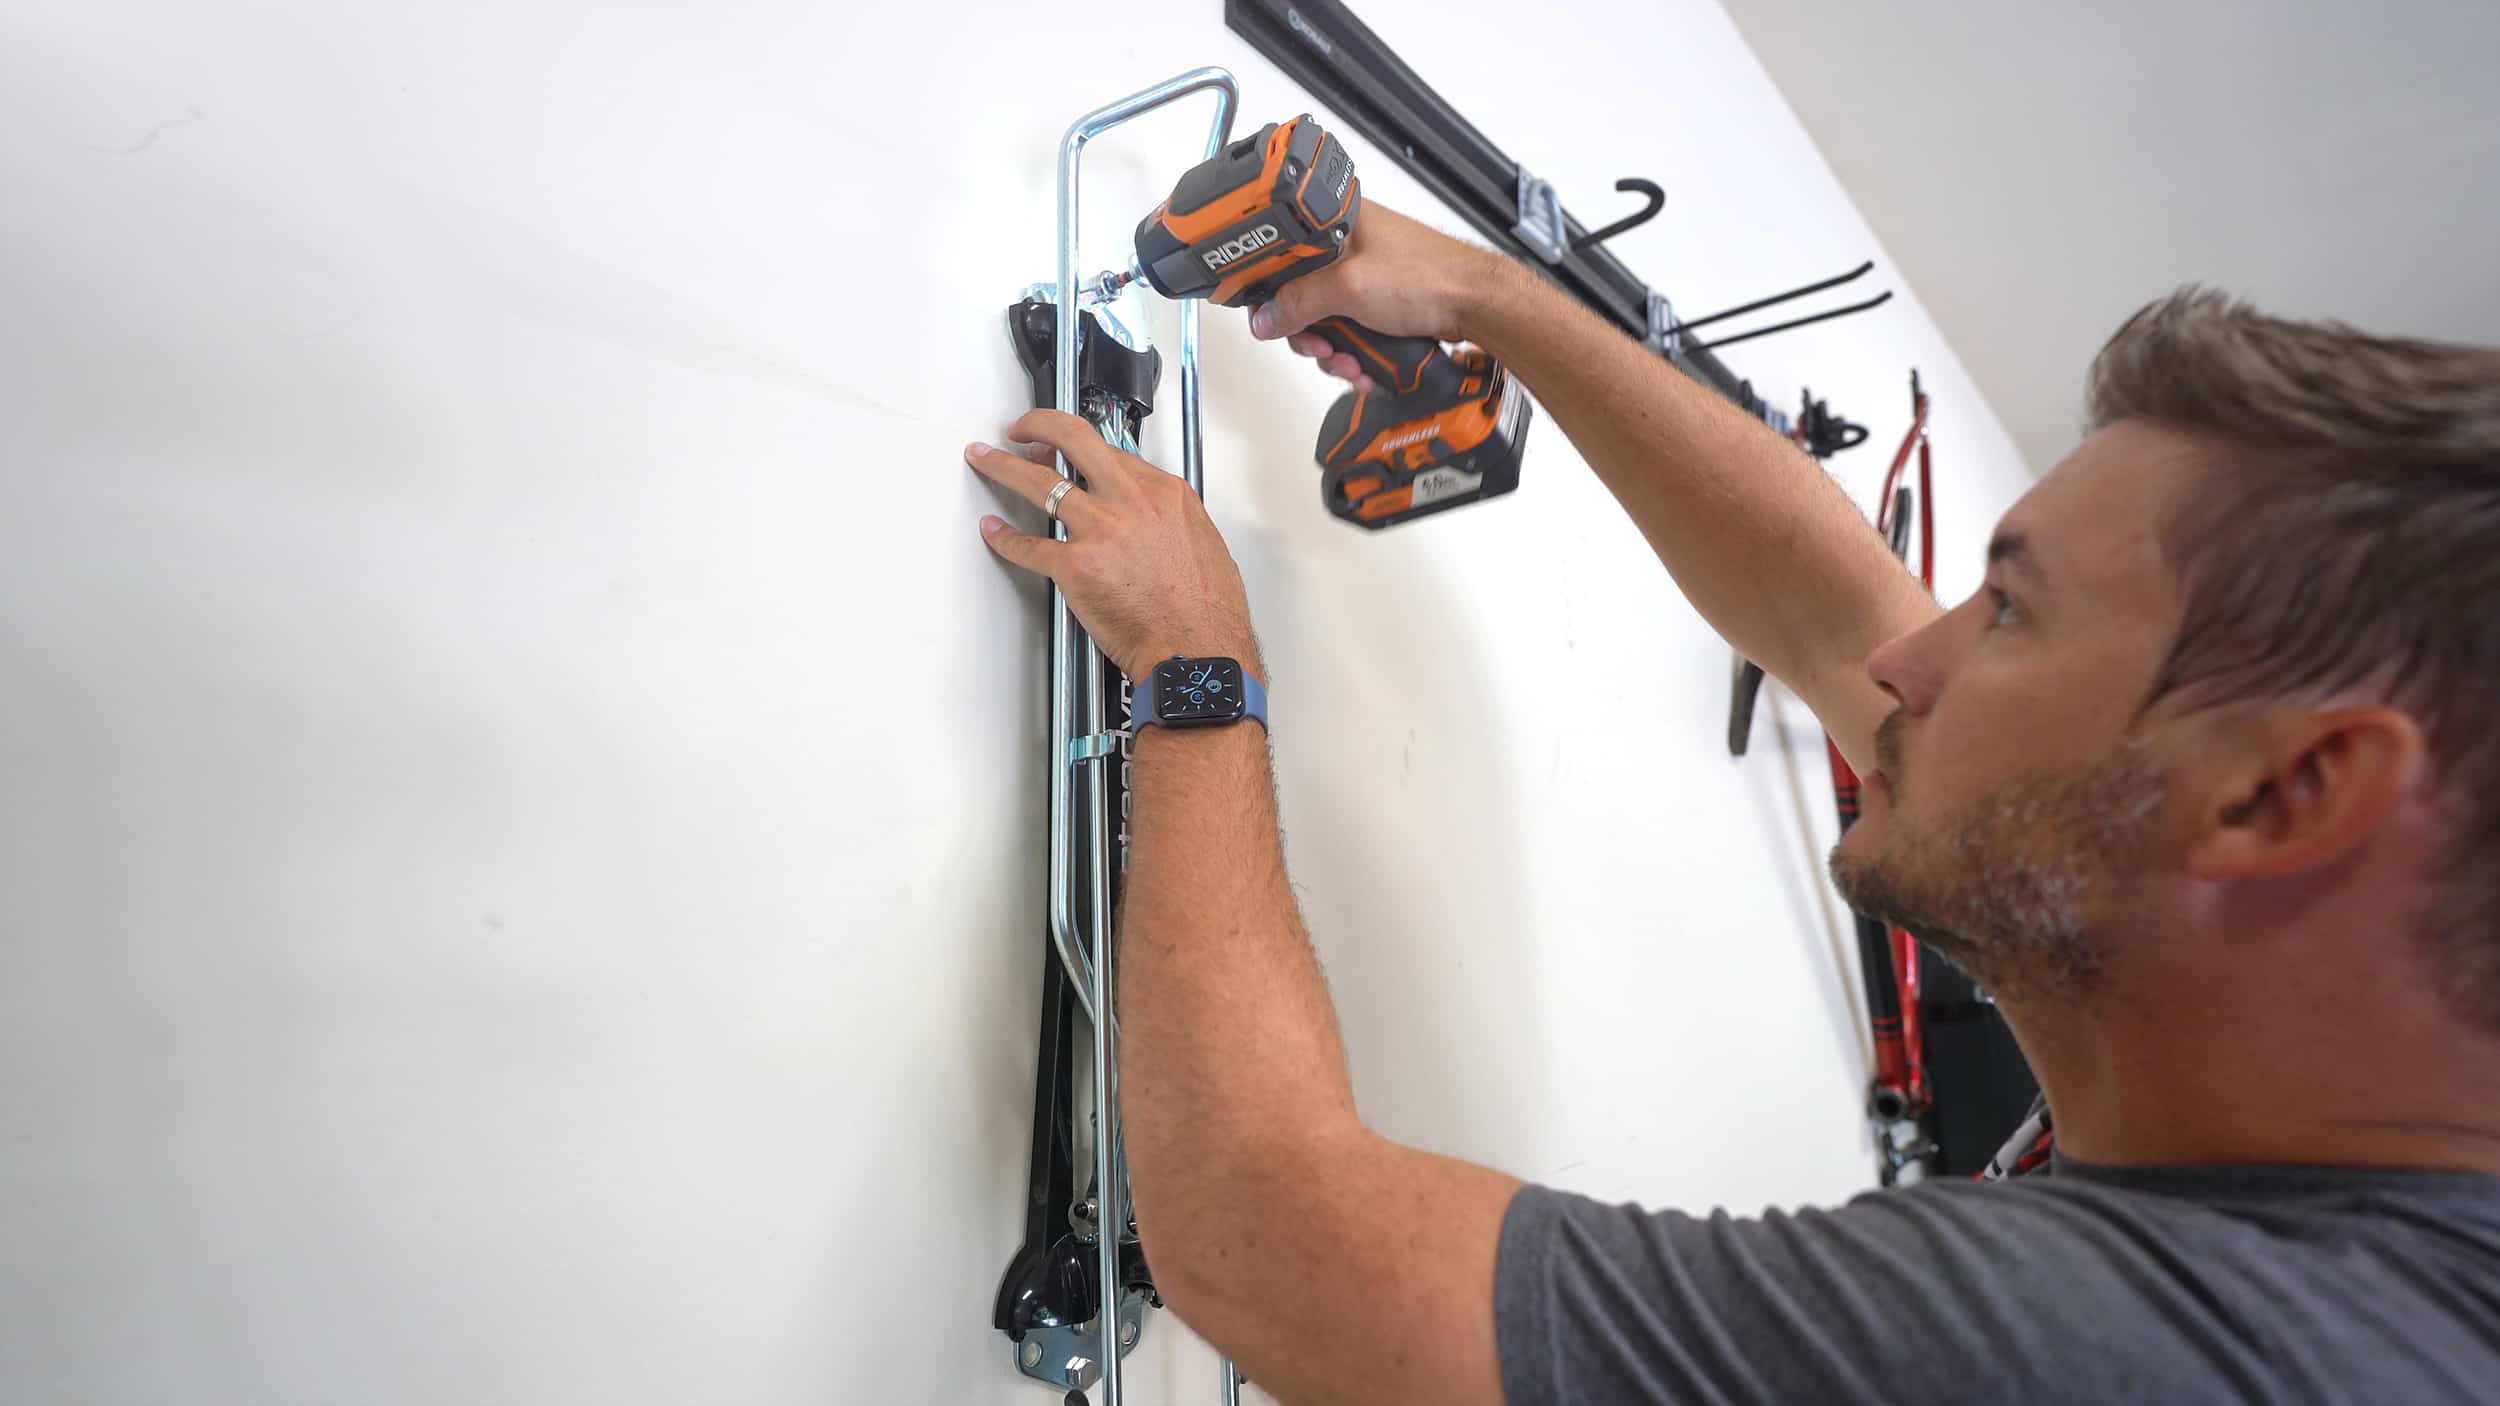
- Measure the length of your bike.
- Add 1-3 inches to the length of your bike per the recommendations and mark that distance on your wall.
- Put the top hole on the mark you made in the previous step to mark the remaining holes of the rack.
- Verify that the remaining marks are on the center of the wall stud.
- Drill pilot holes for your carriage bolts.
- Drill in all carriage bolts loosely at first and then tighten.
- Rack the bike to see where the rear tire hits.
- Install tire stop at the spot the rear tire hits into a stud.
- Done.
Even with the process of video recording every step on all three racks, I believe I was done in an hour. The install is very easy and can be done by anyone with simple tools and the ability to find wall studs.
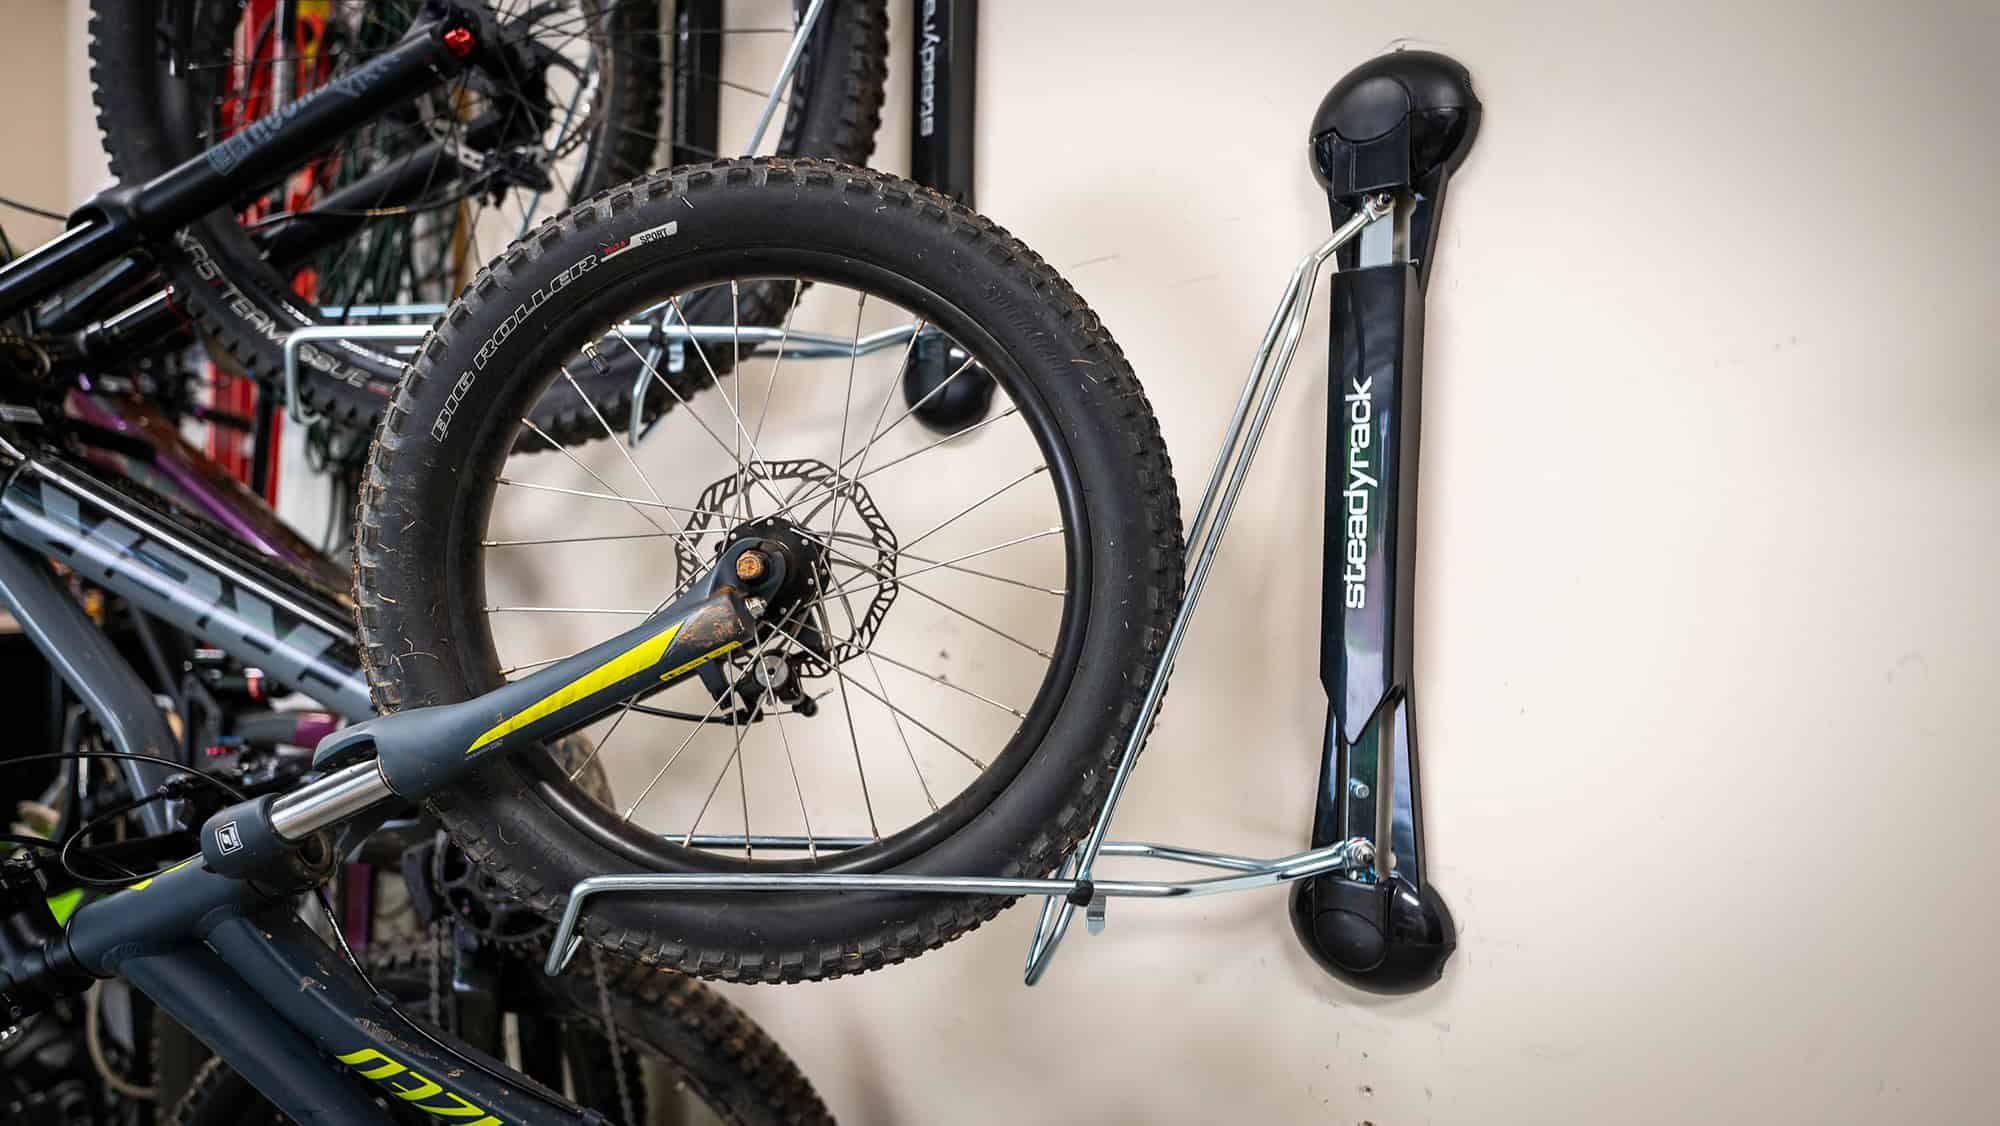
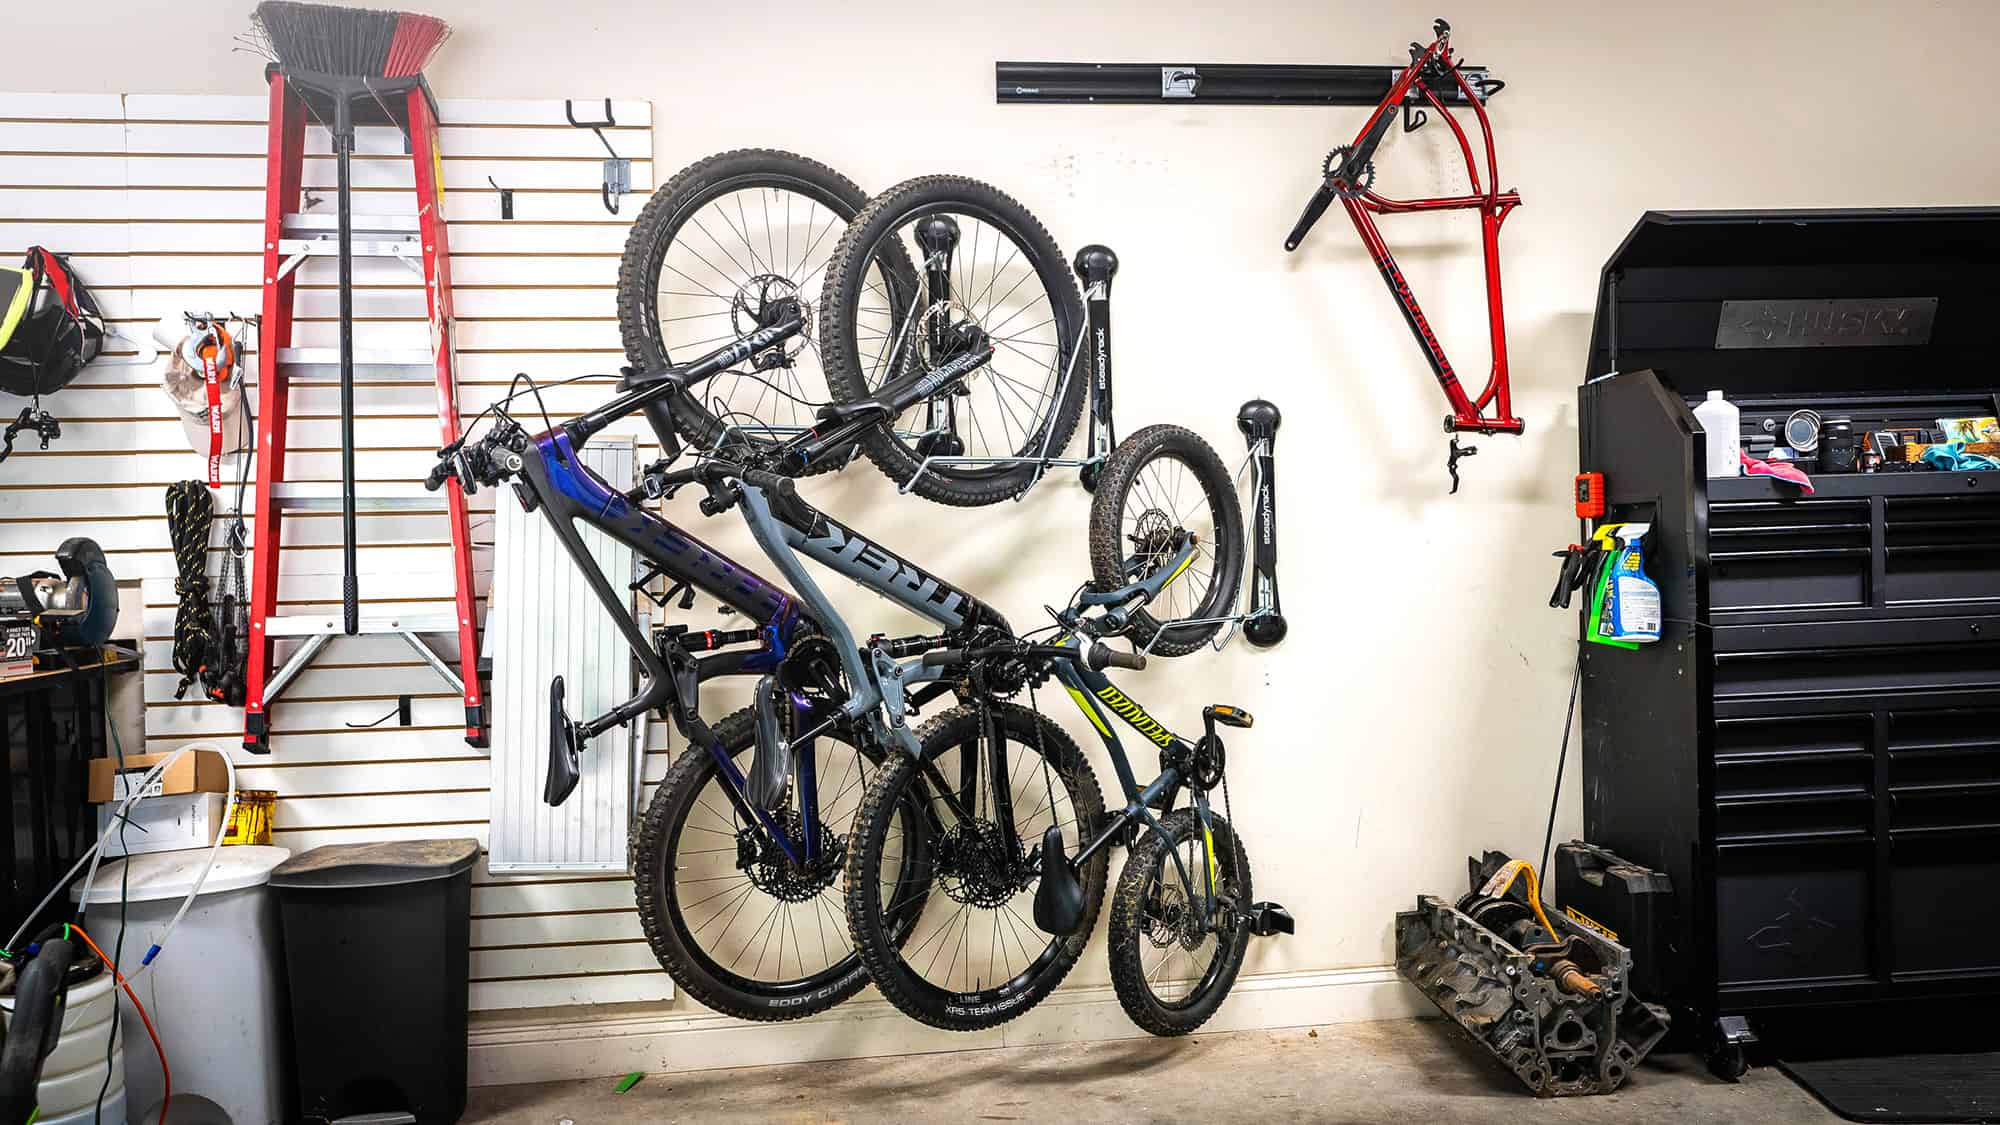
One thing to keep in mind with smaller wheel bikes like my sons 20″ Specialized, the tires do sink farther into the racks. I had to adjust the 1-3 inches recommendation to an additional 6″ to get the bike to the recommended height off the ground. It did not effect how the bike rolled into the rack but it is an adjustment you will need to make for smaller sized wheels.
If you have bikes that are very similar in size, you also want to watch out for handle bar height if you want the racks to fold to their maximum angle. Where the handlebars meet could restrict that movement. During the process of making this review we upgraded my wife to a Trek Rail. We are still able to get the racks out of the way enough for my liking but if you are really cramped on space you would want to adjust the height of one of the bikes.
Also…at full swivel my Trek with its wide bars and long fork came out from the wall about 40″. When you are pulled out into the perpendicular position, the bikes will be a couple inches out more than they are tall when standing. That should give you a good idea on the space you need for install.
Steadyrack Vertical Bike Storage Review
So enough about the install…what do I actually think about the Steadyrack vertical bike storage racks? Here is our Steadyrack review…
Long story short…I LOVE them and let’s get into why.
What I really needed in my garage was a space saving storage solution that was also really easy for both my wife and my 8 year old son to use. It also had to be able to handle heavy bikes like my 50 pound Trek Rail with 2.8″ tires. These racks checked all of those boxes.
The best part about the racks is that my son and wife can use them easily. With a quick lock of the rear brake and a roll in (without having to lift the bike at all) they can both easily store and remove their bikes from the rack safely. Especially for my son who likes to ride in the neighborhood…this is great because I don’t have to worry about him hitting or scratching the cars. His bike is loaded securely and easily accessible.
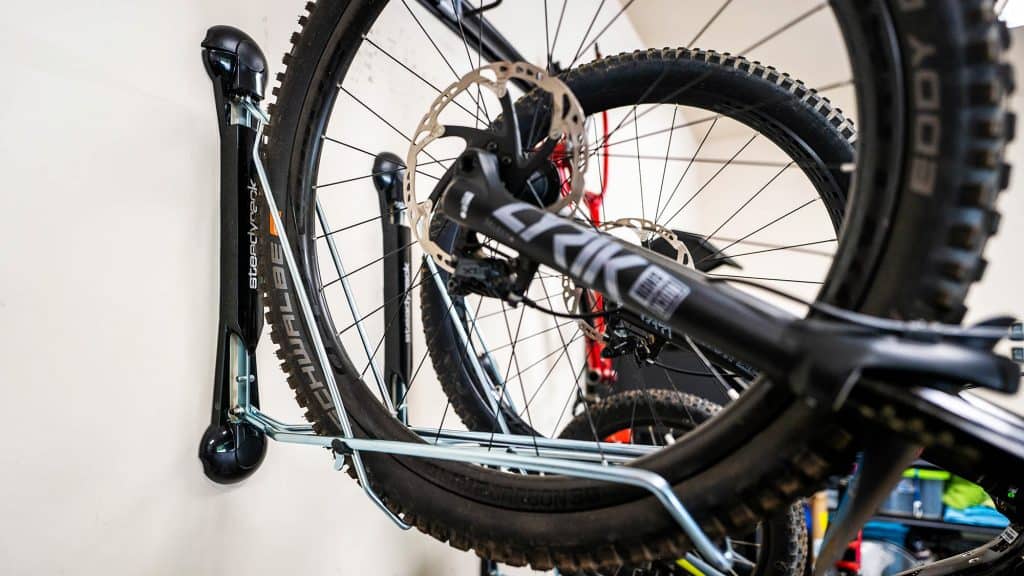
The racks are also very well made. When I rack our e-bikes that are very heavy, I never feel like the rack wants to bend or twist. The bike rack is very sturdy and takes the weight easily.
I would definitely recommend getting the classic rack if you are going to be using bikes with varying tire widths in the same rack. If you are only going to be using tires in the 2.3 – 2.8 range…spring for the mountain racks as they install and remove easier with the increased width.
One of the things that are actually really nice about the racks as well is that they keep tire marks off the wall. With any of the hooks or other cheaper options I have used in the past, you get tire marks all over your garage walls. The front wheel rack in combination with the tire stop do a great job of keeping your walls clean if you are easy with positioning the rear tire.
Do I have any negatives about the Steadyracks?
Not really. If I did…it would be picky. You can say price as there are some cheaper and DIY options out there but you sacrifice ease of use, versatility and the other positives that come with these racks. I can see if you have 10+ bikes how this could add up in price quickly (they do offer a 10% discount if you buy two or more). Other than that…about the only other negative I could see is if you do not want to mount your bikes on the wall and would rather have a floor mounted option.
There are other ways you can vertically mount bikes in your garage. I have used everything from hooks to homemade options but none do it as clean and as easy as the Steadyracks do. All of the cheaper options come at a sacrifice that wouldn’t have made it easier for my family to access their bikes.
