The most popular upgrade for any mountain biking enthusiast is the suspension fork. With continuing advancements in suspension technology and the extreme impact a fork has on the overall ride of you mountain bike, you can see why this is a go-to item as many riders upgrade their rides. The actual installation of a new mountain bike suspension fork is fairly easy, especially with the right tools. Here is a step-by-step install guide that will bring your old bike to new again with a new suspension fork.
Still pondering over which suspension fork is right for your bike? Check out this post…Mountain Bike Suspension Fork Buyers Guide…for more information on which fork is right for your ride.
Required Tools for Suspension Fork Installation
As with any job…there are certain tools you will need. This list can vary and I will explain the substitutions as we go along with this project. Most of the branded parts listed below are Park Tool part numbers, but there are other brands (Pedros, Spin Doctor, etc.) you can use as well.
- Park Tool CRP-1 Crown Race Puller
- Torque Wrench
- Park Tool SG-7 Threadless Fork Saw Guide
- Park Tool CRS-1 Crown Race Setting System
- Sanding Block
- Tape Measure
- Scissors
- Fender Washer
- Correct Size Allen Wrenches (4.5/3.5)
- Hammer
- Anti-seize/Grease
- Star Nut Setting Tool
- Sharpie
- Hacksaw
The Job…
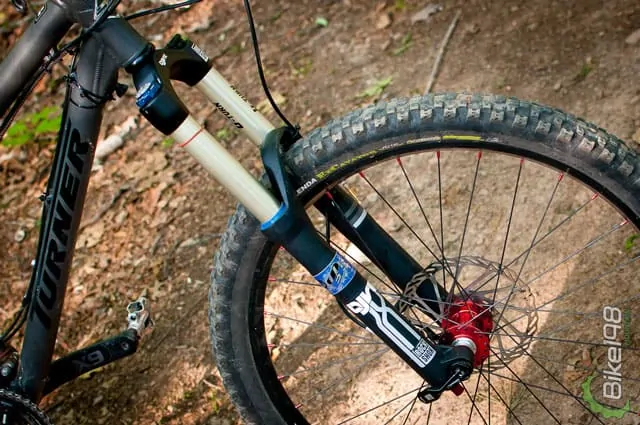
 So what are we installing? Today, we are swapping out a HEAVY RockShox Recon coil for the much lighter and more adjustable 2009 Rock Shox Reba Team 120mm with 20mm TA Maxle Lite. This is a significant upgrade and should completely change the ride of this Felt Virtue 4. Coil forks provide a plush overall ride but at the sacrifice of weight and adjust ability. The Recon is a lower end model for RockShox, so the new air RockShox Reba Team will provide the adjustment and weight decrease the rider needs. This is a prime example of the perfect candidate for a suspension fork upgrade. Many times, riders buy a solid frame with the hope that component upgrades are on the horizon…that was the case here…
Let’s Get Started…Removing the Old Suspension Fork
Before you get started removing the parts to get ready for installation, make sure you have the bike secure in the stand and easily accessible.
The first step in any upgrade process is taking off the old parts.
- Remove the front wheel
- Remove the caliper bolts
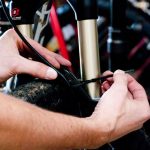
- Cut the zip tie holding the brake line in place on the suspension fork.
- Loosen the stem bolts
- Remove top cap and bolt
- Carefully slide the fork out of the head tube, keeping all of the headset parts in place. Make sure that the bars slowly descend to a hanging position
I try to keep all of the headset bearings and pieces on the head tube if possible. If you are not able to do this, make sure you keep track of the order they are installed. This is very important. For the next steps in the install process, you may need to use the stand the bike is currently in if you do not have more than one. Carefully lay the bike on its side in a safe area while you prepare the new fork for installation.
New Suspension Fork Preparation
Before we can install our shiny new suspension fork on our mountain bike, there are several steps we need to take.
- Measure and cut steerer tube
- Install crown race
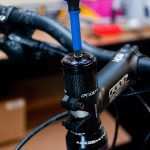
- Install star nut
Before we can pull out the new fork, we need to pull one part off the old one: the crown race. The crown race is pressed onto the steerer tube and can be found directly above the crown. This race serves as a consistent surface for the bottom bearing of the headset to ride on and this is NOT OPTIONAL!
Pulling the old crown race
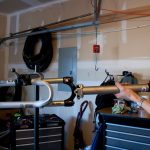
Using a crown race puller (Park Tool CRP-1), remove the old crown race off the old suspension fork.
- Secure the fork in the stand
- Spin the top handle of the crown race puller counter clockwise to extend center threaded tube
- Slide crown race puller over steerer tube
- Tighten bottom clamp at the top of the crown/base of crown race (careful not to damage crown race or scar fork crown)
- Once tightened, turn top handle clockwise to pull crown race from steerer tube
- Once loose, slide puller and crown race off of fork
The key here is to successfully remove the crown race from the old fork without damaging it or the fork. I have done this with a simple punch and hammer before also, but it takes much more time. It is also easy to damage components.
Cutting the steerer tube of the new suspension fork
Note: Secure the new fork in you stand.
Brand new suspension forks come with an extremely long steerer tube to accommodate as many builds as possible. You can cut the steerer tube to any length you desire, but I do not go under 8 inches. On shorter head tube frames (like this one) it creates an extra amount of tube above the stem, but under 8″ steerer tubes have little to no resale value. If you ever plan on selling the fork in the future (go ahead and plan on it), I would not cut under 8 inches. It keeps your possible buyer audience much larger and helps the resale value of your fork.
- Measure 8 times cut once.
- Mark your measurement with a Sharpie
- Install the Park Tool SG-7 Threadless Fork Saw Guide on steerer tube
- Cut tube with hacksaw
- Remove Saw Guide and debur cut tube with sanding block, dremel, etc.
In the past, I have used old stems tightened down on the steerer tube to get a straight cut. With the past couple of forks, I invested the time in using a SG-6 and it has made life much easier.
Installing Star Nut
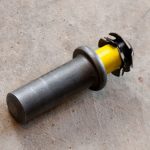
Time to install the star nut. The star nut creates a secure fit between the fork, headset and head tube and must be pressed into the steerer tube prior to installation.
- Thread star nut onto star nut tool installer
- Position tool over steerer tube
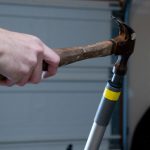
- Install by hammering into place
- Unthread tool from star nut
You can also install the star nut by hammering a bolt, but the tool insures that the star nut is installed straight and without damaging the threads.
Installing Crown Race On New Fork
Installing the crown race that you removed from your old suspension fork onto your new one is a straight forward and easy process.
- Slide crown race down the steerer tube
- Apply anti-seize to tube in area where crown race is being installed
- Select proper press for your crown race
- Slide Park Tool CRS-1 Crown Race Setting System over steerer tube
- Hammer top of Crown Race Setting System to press crown race
The CRS-1 system is nice to have, but not necessary. I have set crown races in the past using simple steel tubes or pvc pipe. The goal is to get the crown race properly pressed onto the crown without damaging the race.
Now your new suspension for is ready for installation!
New Suspension Fork Installation
It’s finally time to get that new fork on your mountain bike and…trust me…all the hard work is done.
- Secure your bike in the stand
- Slide the new suspension fork through the head tube lining up all of the headset parts, spacers and stem
- Install top cap bolt with fender washers (more on this later) to secure parts together
- Install brake caliper with correct adapter but keep caliper bolts loose (I prefer to run the brake line through the fork legs as shown)
- Slide wheel back into position and secure axle/quick-release
- Zip tie brake line out of the way from tire/wheel
- Line-up stem and front wheel
- Tighten stem bolts to correct torque specification (more on torque settings here)
- Remove top cap bolt and fender washers
- Install top cap with top cap bolt
- Adjust front brake and suspension settings
I use fender washers as a way to properly secure the fit between the crown, headset, spacers and stem. You do not want massive amount of torque, but you do want a secure fit. You can use the top cap for that step as well…but I find the fender washers have a better overall result. You want to have about an 1/8″ gap between the top of the steerer tube and the top of your highest spacer. If they are even, you will not get the required compression resulting in a loose fit.
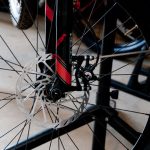
For this install…and probably yours too…I had to use a different brake caliper adapter. The newer forks are coming standard with post mount systems. If you are using 160mm rotors, you will need to do nothing but install your caliper straight onto these mounts! For 180mm and larger rotors, you are going to need a new post mount adapter for your fork.
Like A Whole New Bike
There are several components on a bike that can make it feel like a whole new ride. A suspension fork is absolutely one of those. Now that you have the new fork on…get out and ride!
For the best deals on tools and suspension forks, check out JensonUSA.com.
